Barebones Guide to Photography
I want to keep this article concise, while still showing the entire process of choosing a camera+lens, taking a picture, and doing some edits in post-production. Hopefully this guide can spark an interest in photography, and be a stepping stone to other resources and guides! Photography as a hobby can sometimes be very expensive, however, I'll show you a way to get started with just $150 CAD.
Body
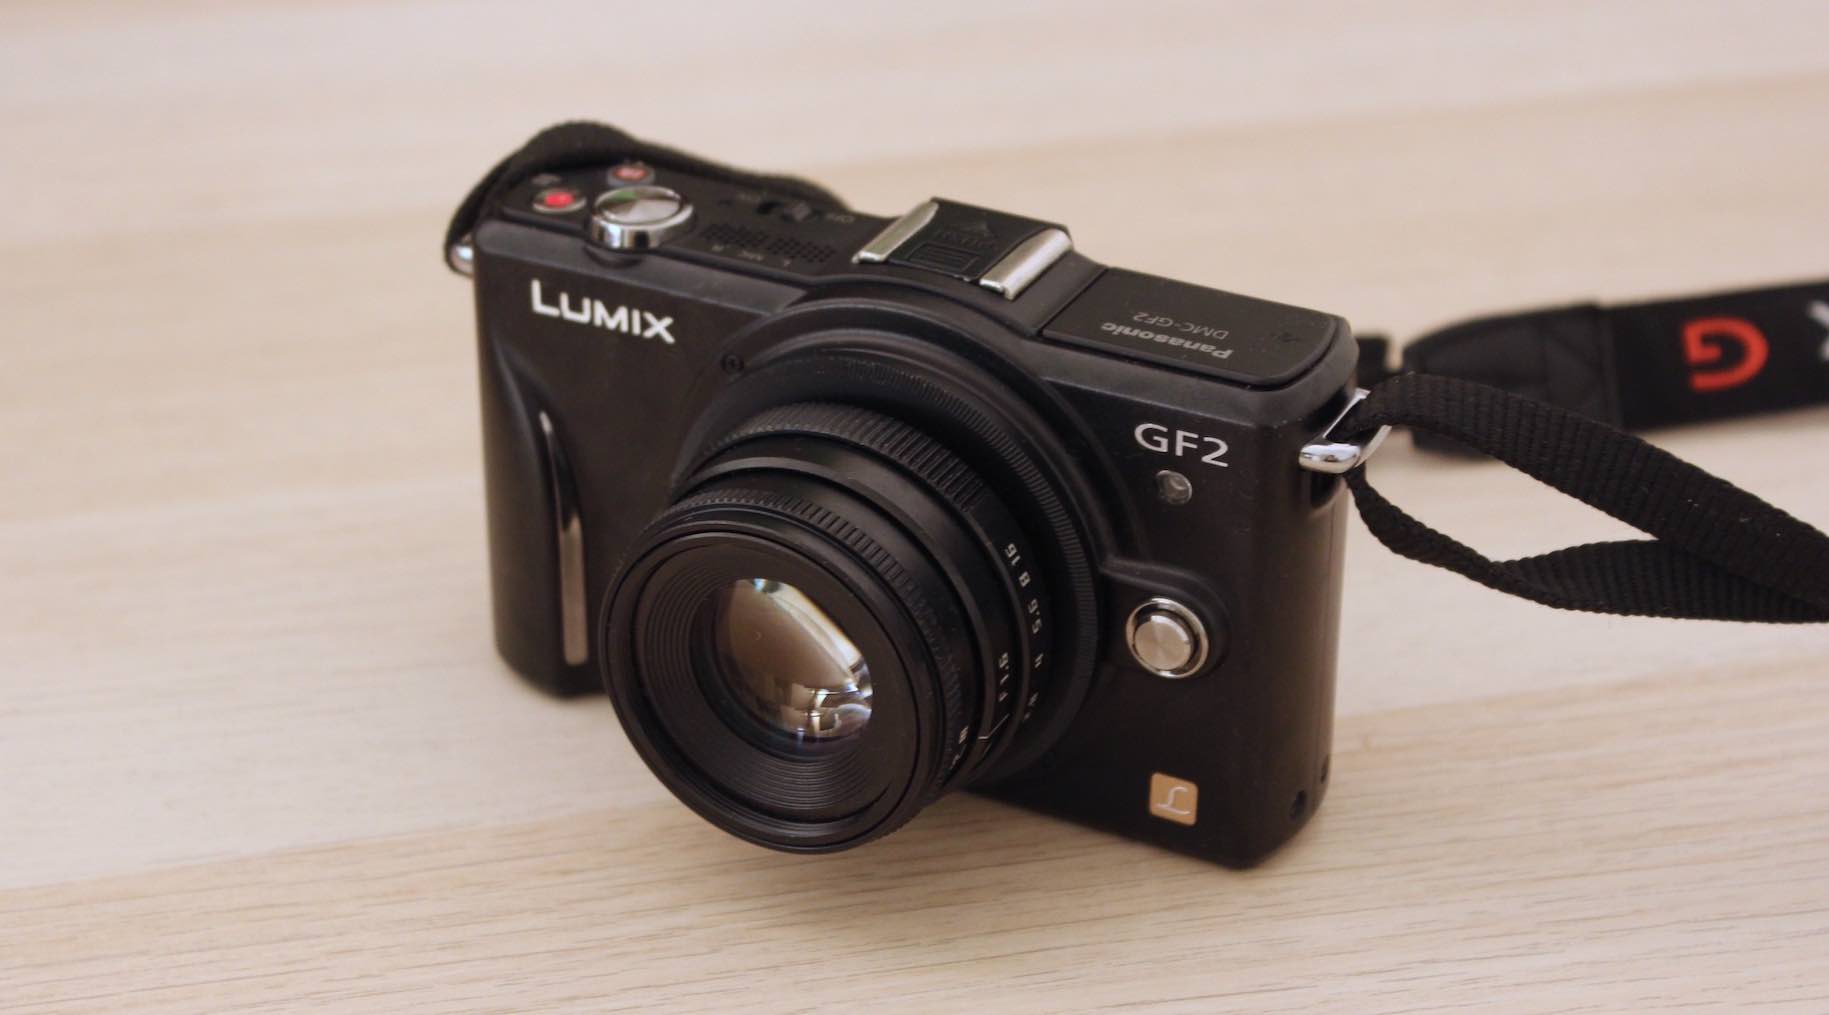
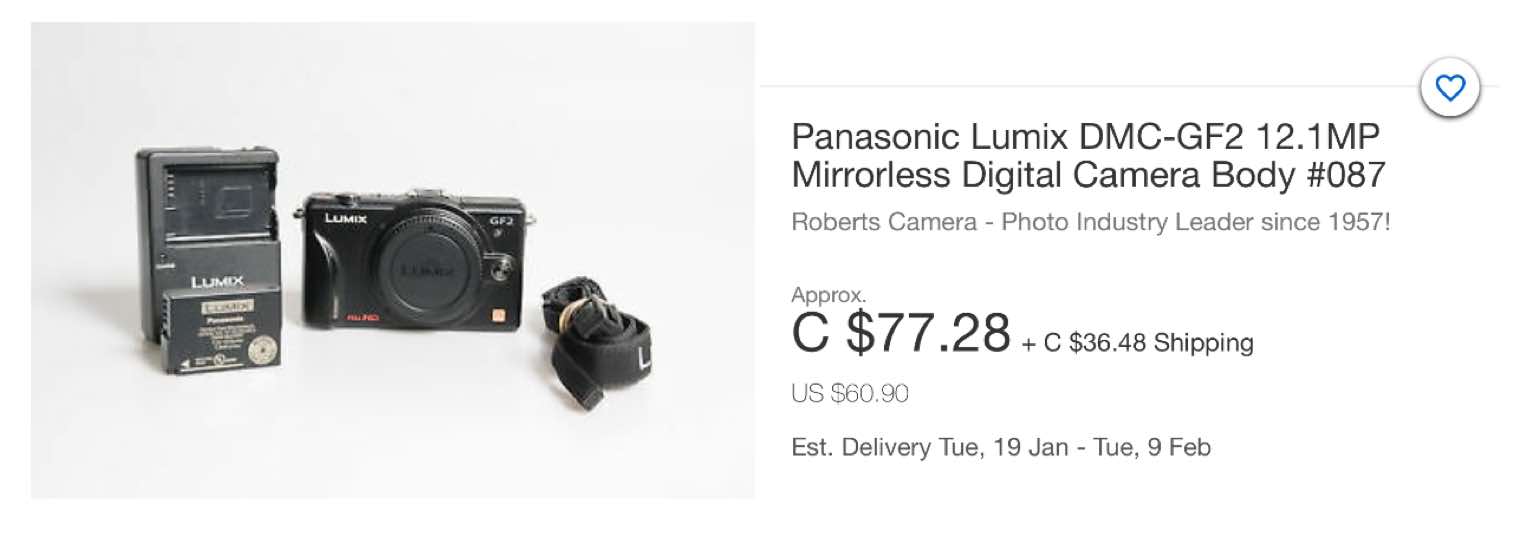
Start off small! Look for used camera bodies on eBay or Kijiji, with the ability to switch the lens (called interchangeable lenses). I strongly recommend getting a mirrorless camera, as the difference in weight and size is enormous when compared to DSLRs. I rarely bring out my chunky Canon T3i DSLR, simply because the Panasonic GF2 mirrorless is so easy to carry and doesn't attract attention. Better yet, the Panasonic GF2 is super cheap. Here's a listing I pulled for only $113 CAD with shipping.
Don't get caught up in the megapixel race, what really matters is the size of the sensor. The bigger the sensor, the cleaner your images look. The GF2 has a Micro Four Thirds (M43) sensor, which is the sweet spot of sensor size to price. Also, the M43 system allows the most versatility in lens choice, due to its reduced distance from lens to sensor. Which brings us to ...
Lens
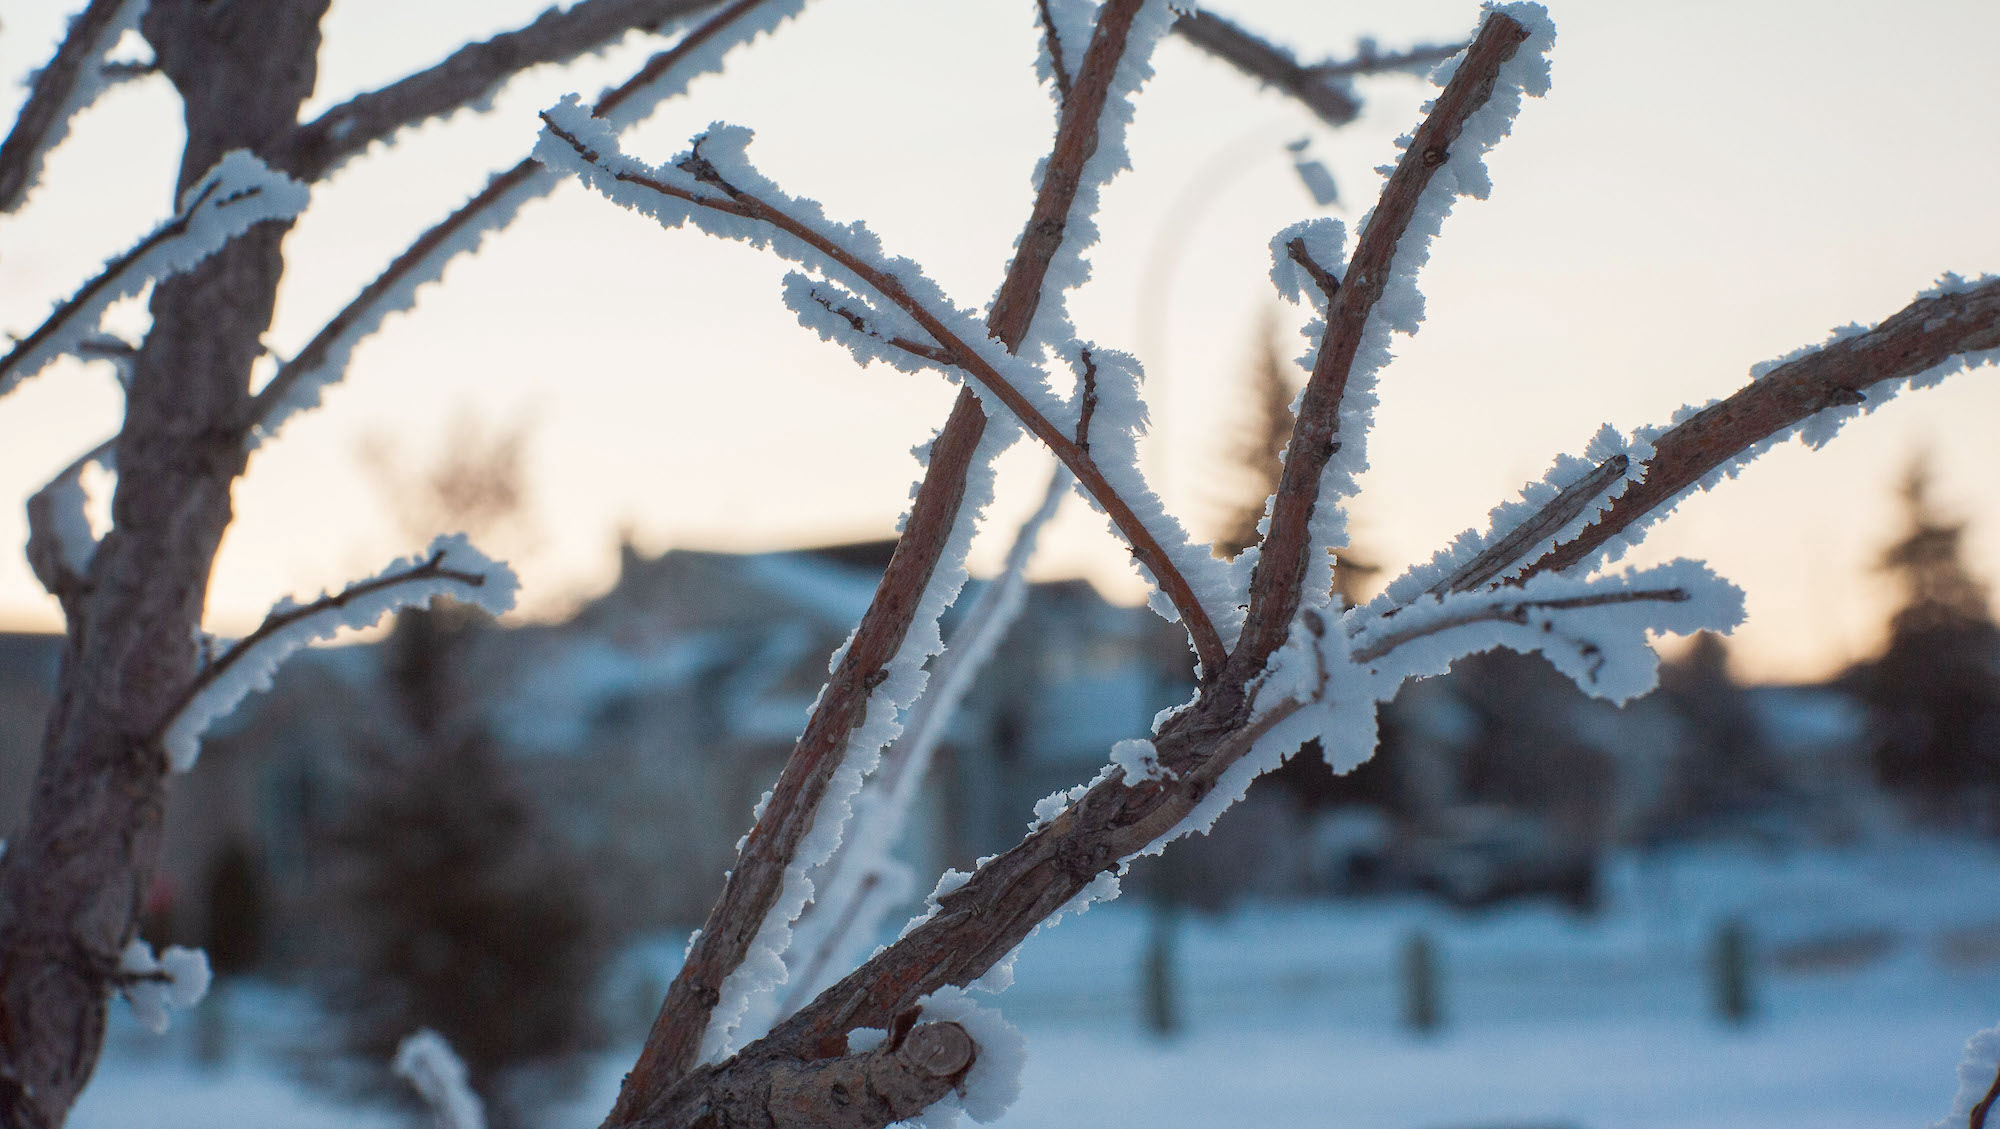
A good reason to dabble in photography is to take photos that your smartphone cannot. There are literally hundreds of different lenses that you can attach to your camera body. The most interesting lenses have large apertures (low f-number). The aperture size affects the soft out-of-focus background called "bokeh". As a general rule, an aperture of <f/2 will create lots of bokeh, while >f/5.6 will not create much. If you buy a mirrorless, then you are able to use my favourite lens, the Fujian 35mm f/1.6. Here's an example of the bokeh it creates:
 Another important descriptor is the focal length, i.e. how zoomed in the lens is. Assuming you have a M43 camera, anywhere from 25mm to 45mm is good for portraits and more subject-focused shooting, while 12mm to 25mm is good for landscape and street photography.
The Fujian 35mm lens is awesome for portraits, however it must be focused manually by hand. This makes sense as it only costs $37 CAD with shipping (Aliexpress). When buying it, choose a kit that includes an adapter to mount it to your camera (e.g. M43 mount).
Settings
There are honestly a crazy amount of settings to play with in the camera, but a good starting point is the A/Av (Aperture) mode. This lets you control the aperture size with the camera's dial. However, if you have a manual aperture lens such as the Fujian, the aperture must be controlled by rotating a ring on the lens.
Experiment with different apertures and levels of background blur. Remember that in some cases, having more of the photo in-focus is desirable. After setting the aperture, focus the lens on the subject. If you have auto-focus, use it! Otherwise, use the focus assist/zoom function in the camera (single screen-tap on my GF2) to focus before clicking the shutter.
Lastly, enable the RAW functionality in your camera. This allows you to save both a JPEG and the raw unprocessed data from your camera sensor, giving you the most freedom for editing.
Shooting
First rule of shooting, take lots of pictures. I'm not saying just smash your finger on the shutter button, instead think of interesting poses/perspectives for the subject. Make sure to physically move around in all three dimensions. Try out different angles (from underneath, from above, tilting the camera), and see if portrait or landscape shooting works better for the scenario. Try to emulate other people's pictures and poses, and check out the various photography guides that you can find online. A good guideline to look up is the rule-of-thirds.
Expect anywhere from 3% to 10% of the shots that you take to be "good" or "usable". In fact, this expectation applies to professional photographers as well, although their standards are probably much higher 😅.
Basic Editing
After a long day of shooting, it's time to load up the RAW files in a photo-editing tool called Adobe Lightroom. This is just to get the picture looking natural and properly exposed. Technically, you can use the existing JPEG file without modifications, however, editing RAW files allows you to drastically change exposure and recover details that are lost in JPEGs. Here's a comparison:
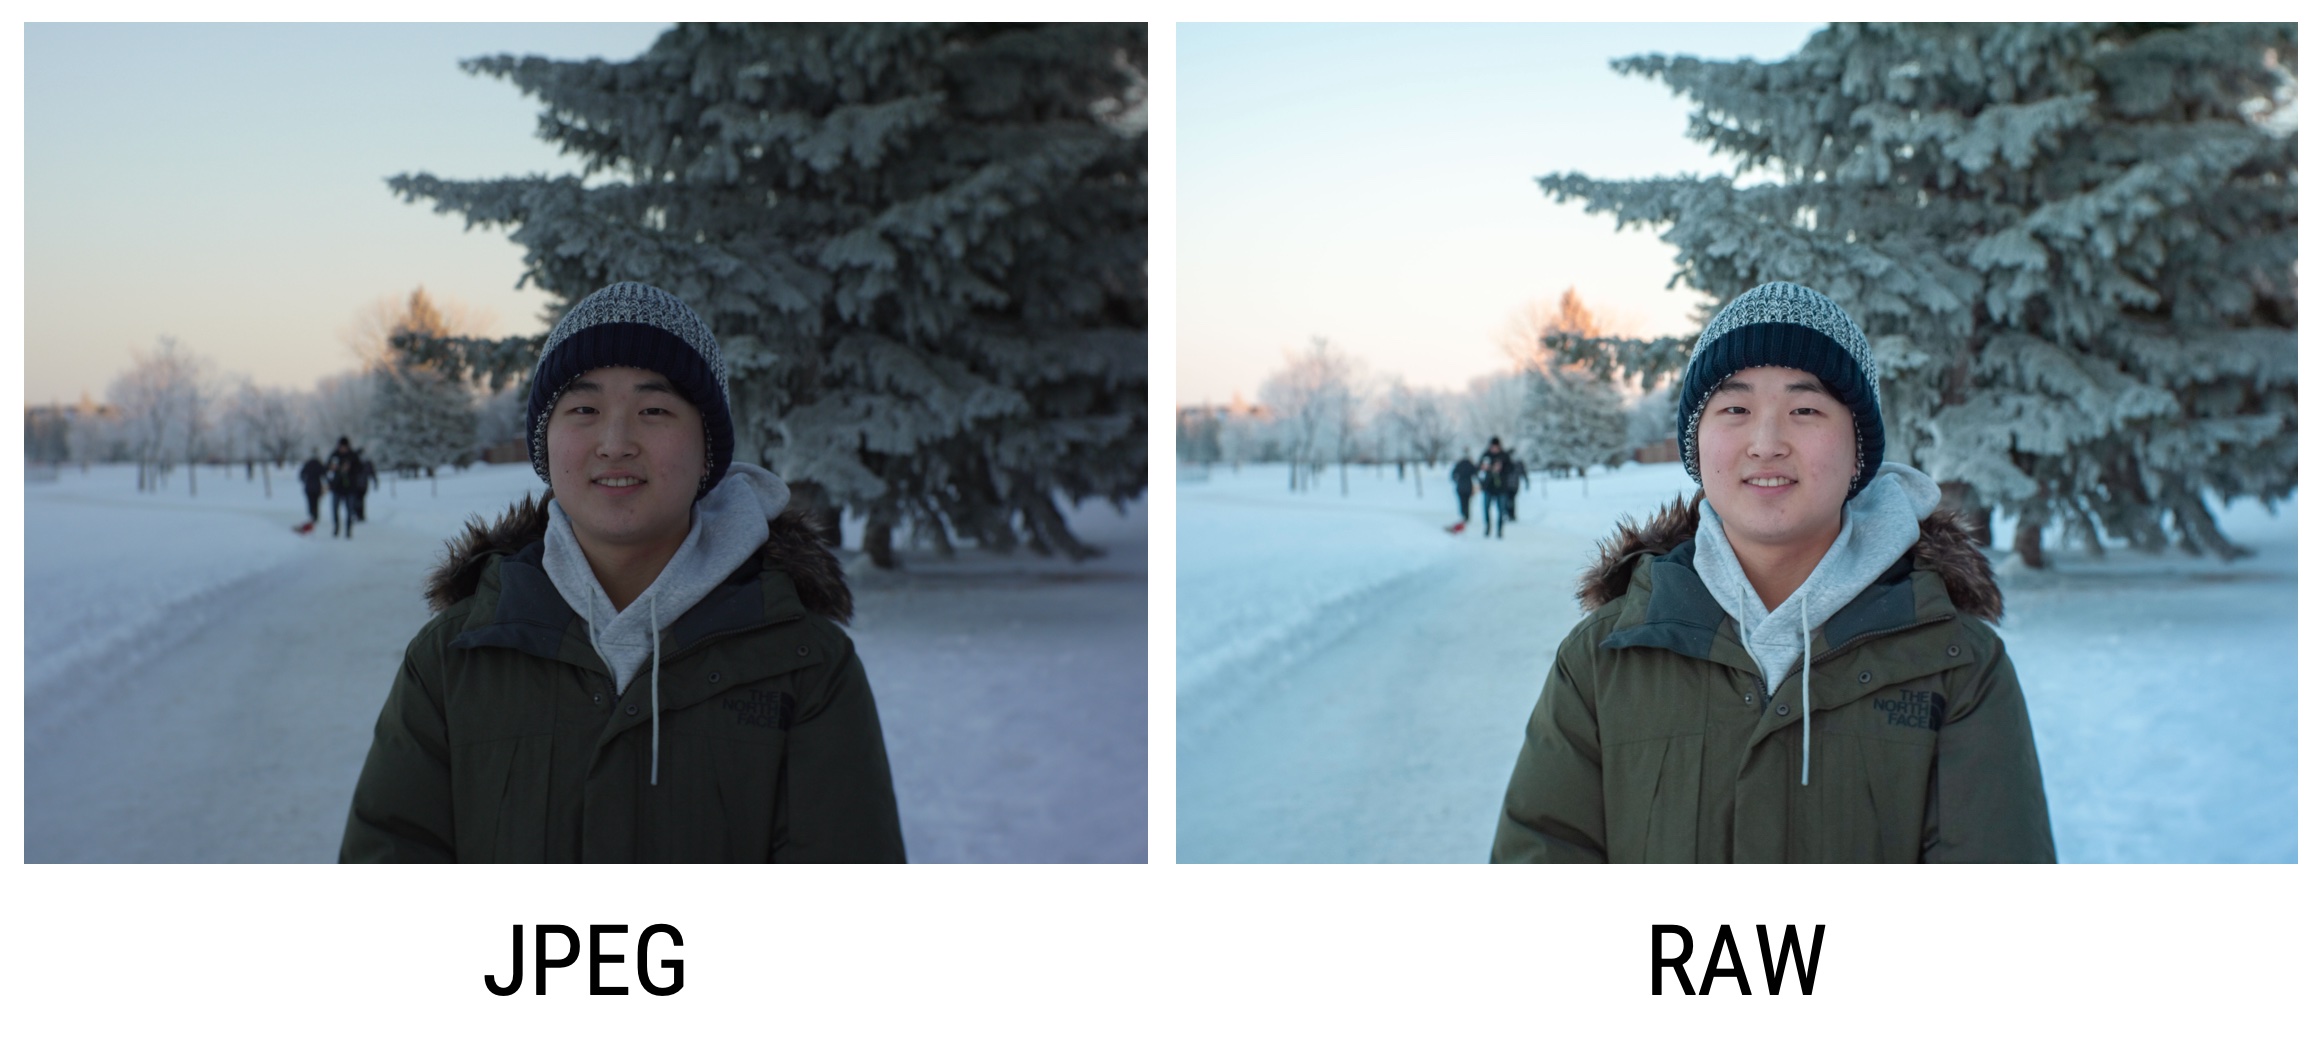
Personally, I use a mashup of two different RAW editing guides, one from Jay Malone, and one from Tyler Stalman. The key take-away is to start by adjusting the white balance to what you remember the scene looked like. Next, adjust the sliders for exposure (up or down), the highlights (down), and the shadows (usually up) until you have an image that looks good. Lastly, if you feel like the image needs more "punch", try increasing the contrast. If you are feeling brave, you can play around with the colour saturations, as explained in the Tyler Stalman guide.
You want to make sure that the skin-tones remain natural during the editing process.
Conclusion
Pick up a used mirrorless camera and a cheap manual lens! Once you learn the basics of photography you can have a lot of fun, and make smartphone camera users envious!