ARM64 VM on macOS with libvirt + QEMU (2026)
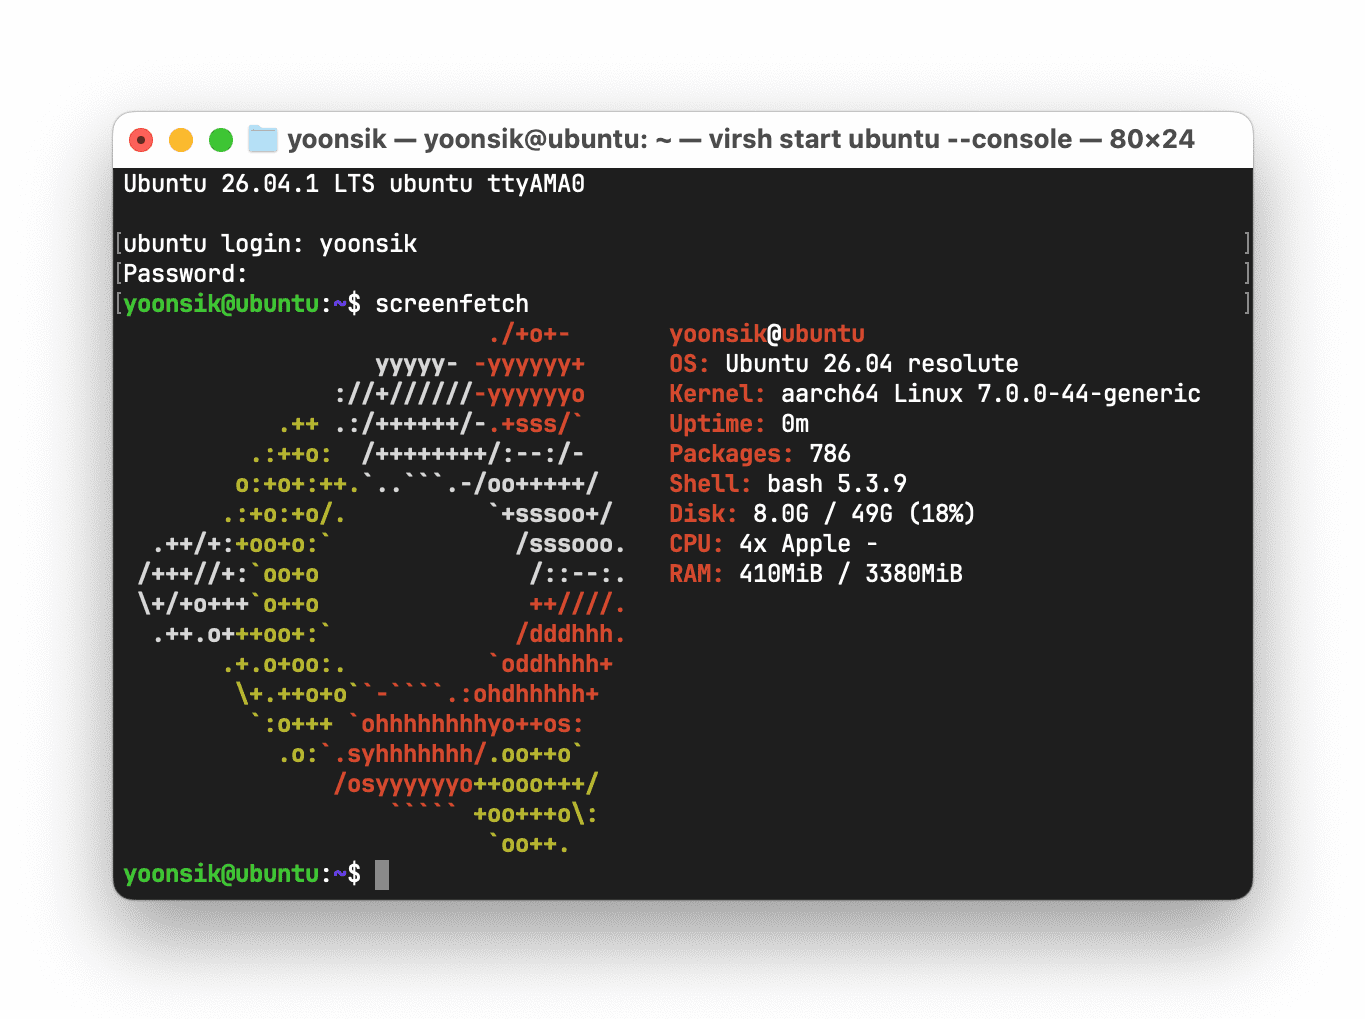
Recently, QEMU 11.1 was updated to use GIC version 3, which delegates interrupt handling to Hypervisor.framework, reducing idle power usage by up to 80%! Many fixes from my previous article are no longer needed, and I've updated and simplified the installation guide. I'm now using the serial console to install Ubuntu, but you can always add the VNC block in the libvirt config for a graphical install. This guide has also been tested using a Debian 13 image.
Installing libvirt and QEMU
- First, install homebrew, which is a package manager for macOS.
- Run
brew install qemu gcc libvirt. - Start the libvirt service, with
brew services start libvirt. It will start after boot as well.
Installing Ubuntu Server 26.04
virsh console is used to directly access the VM through the serial port. At any time, press Ctrl + ] to close the console. If you would like to connect using VNC, uncomment the <graphics> and <video> blocks in the XML file, and follow the previous guide.
-
Create a
vmsfolder in your home directory, and generate a disk image. Change50gto the size of your prefered disk:mkdir ~/vms && cd ~/vms qemu-img create -f qcow2 ubuntu.qcow2 50g -
Download the latest ARM64 Ubuntu Server 26.04 image from the releases page (e.g. 26.04.1) and my ARM libvirt XML template and place the .iso and .xml files in the same folder.
-
Modify the following elements in the
ubuntu.xmlfile to match your your VM preferences and file paths. Save, then runvirsh define ubuntu.xml.<domain type='qemu' xmlns:qemu='http://libvirt.org/schemas/domain/qemu/1.0'> <name>name of the VM</name> <memory unit='GB'>how much ram</memory> <vcpu>how many cpus</vcpu> ... <disk type='file' device='disk'> <source file='full path to your qcow2 file'/> ... <disk type='file' device='disk'> <source file='full path to your install iso'/> -
In your terminal, run
virsh start ubuntu --console. Immediately press theEsckey to enter the OVMF menu. Select "Boot Manager", then boot the install image. For me it wasUEFI Misc Device 2. -
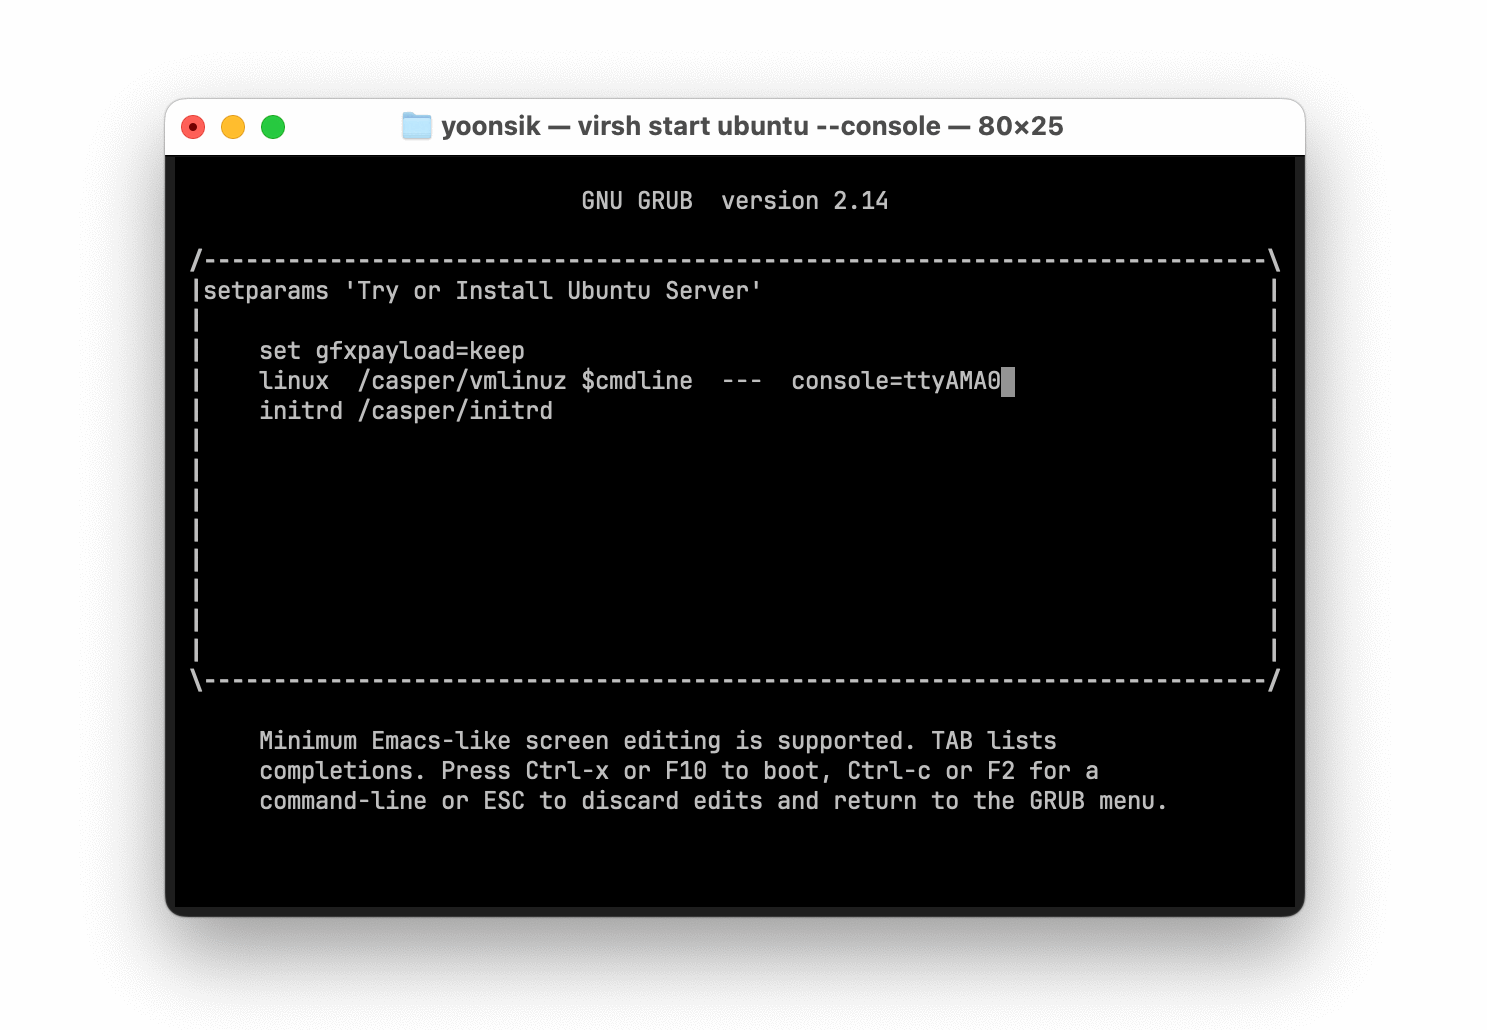
On the GRUB Screen, while "Try or Install Ubuntu Server" is highlighted, press the
ekey to edit the boot command. Change the linux console tottyAMA0. PressCtrl + Xto boot.
-
Install Ubuntu Server using basic text mode, making sure to enable the SSH server. Once it restarts you can connect to the VM from your terminal by running
ssh -p 2222 user@localhost, or by using the console again withvirsh console ubuntu. -
To send a shutdown signal to your VM, run
virsh shutdown ubuntu. To force shutdown, runvirsh destroy ubuntu. -
To forward a port, e.g. port 443 from the VM to port 8443 locally, run the following:
ssh -p 2222 -L8443:localhost:443 user@localhost
Multiple VMs
If you want to create multiple VMs, create an XML file for each machine with a unique UUID, VM name, and VNC port. Also, change the hostfwd argument so that each VM exposes a different port for SSH, e.g. 2223 instead of 2222. After you have defined them all, you can get a list of the VMs that are currently running with virsh list.
VM Powersaving
Add the following to your startup script to force the VM to only use efficiency cores. To verify, check Activity Monitor --> Window --> CPU Usage, the efficiency cores are on the left.
#!/bin/bash
set -euo pipefail

VMUUID=$(/opt/homebrew/bin/virsh domuuid ubuntu)
VMPID=$(ps -e | grep -F -- "$VMUUID" | grep -v 'grep' | sed -n 's/^ *\([0-9]*\).*/\1/p')

taskpolicy -b -p "$VMPID"

# for max power
# taskpolicy -B -p $VMPID
SSH Script with Autostart
#!/bin/bash

STATUS=$(virsh list | grep ubuntu)
if [ -z "$STATUS" ]
then
    echo Starting VM; virsh start ubuntu
fi
ssh -o 'ConnectionAttempts 60' -p 2222 localhost
Start all VMs
#!/bin/bash

for i in $(virsh list --autostart --all --name); do virsh start $i; done
Troubleshooting
If you see +q6E616D65 printed to the console, this is harmless. Linux assumes a VT220 terminal and is querying for terminal capabilities that macOS Terminal does not support. If you want a clean console, append TERM=vt102 to GRUB_CMDLINE_LINUX_DEFAULT under /etc/default/grub, and add DefaultEnvironment=TERM=vt102 under /etc/systemd/system.conf. Finally, run sudo update-grub and sudo systemctl daemon-reload.